Photoshop, The Second Lesson
In the second chapter of Photoshop, we learned about many different tools that can be used to alter an image’s appearance.
The Tools
- Straighten
- Crop
- Tone Adjuster
- Spot Healing Brush
- Patch Tool
- Clone Stamp
- Smart Sharpen
Straightening an image can take an image that is on an angle and rotate it to be level. The straightening tool goes hand-in-hand with the Cropping tool that is used to trim the edges of an image. The Tone Adjusting tool is used to change the overall color tone of an image. There are two major adjustments that can be made using Curves and Levels that can change the overall brightness, tone, and color contrast within the picture. The Spot Healing Brush and the Patch Tool are both tools that can help erase blemishes and imperfections in an image. Both of these tools use content-aware software that helps blend the picture seamlessly. The spot healing brush is more useful when dealing with small imperfections, meanwhile the patch tool is intended for larger parts of an image that need to be removed. The Clone Stamp tool can also be used to help with imperfections in a photo. This tool uses pixels from one area of an image to replace the pixels in another part of the photo. The Smart Sharpen tool works to retouch photographs. Any small artifacts in a photo that need to be erased can be done using Dust & Scratches, and then the image can be sharpened and refined using smart sharpen.
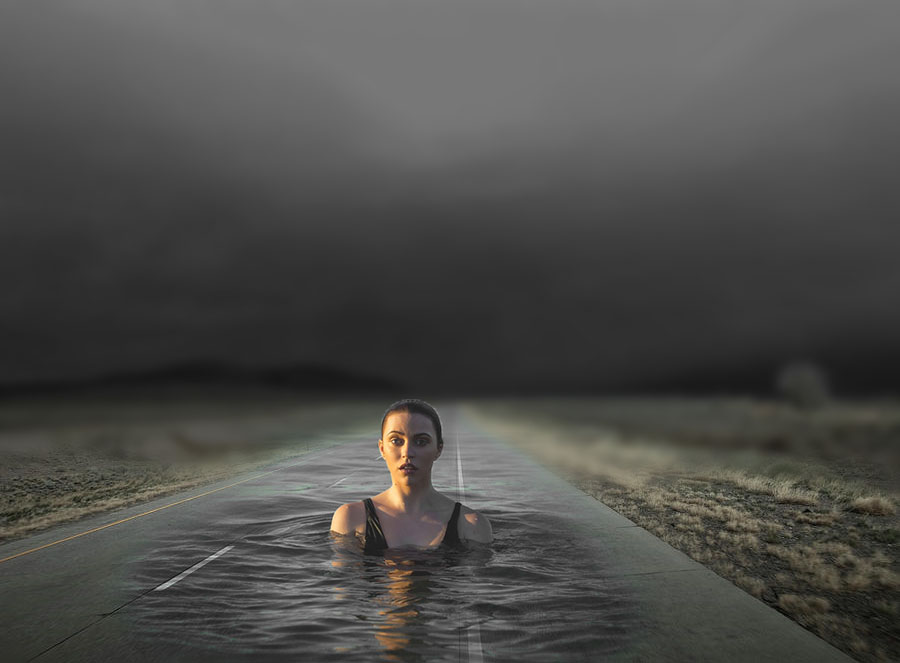
Before & After Adjustments

Before 
After