Photoshop Lessons
-
Photoshop Presentation
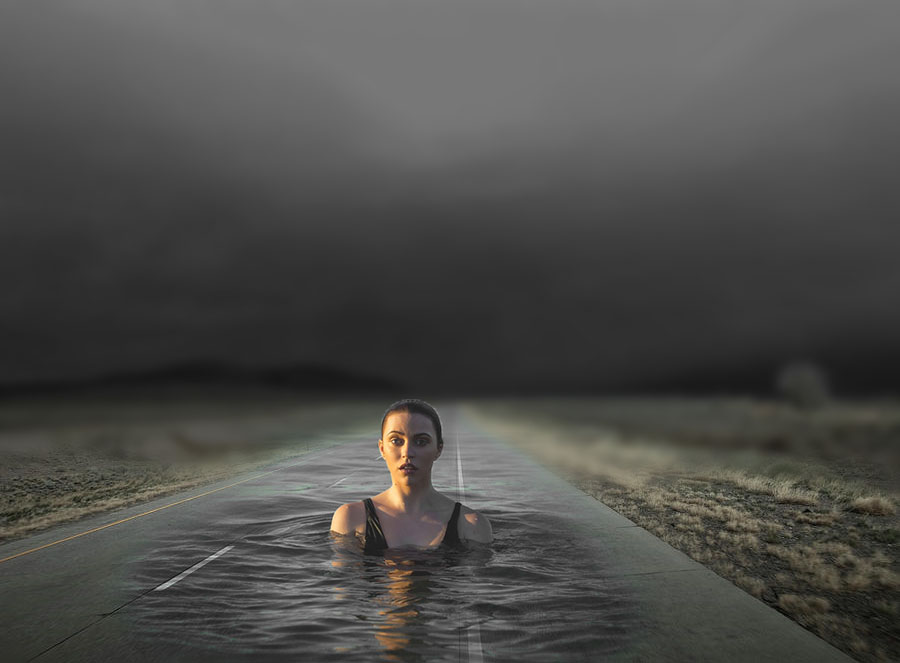
My presentation demonstrated how to seamlessly blend two images together. The two images I decided to combine were as follows; We can take these two photos and make it seem as though the swimmer is coming out of a road made from water in 23 simple steps! Open the road image in Photoshop. Firstly, we want to extend the road image vertically. For this, access the Crop Tool and extend the top of the image. Select the Rectangular Marquee Tool and select the new space, as well as part of the top of the existing image. Go to Edit: Fill and ensure that “Content Aware” is selected in the “Content”…
-
Photoshop in Motion
In Photoshop, we learned how to create and edit a video. Within the video, we included moving text, images, video clips, audio tracks, and special effects. Photoshop makes video editing fairly easy with its video group and layer software. These allow for images to overlay another image, even when moving. We learned how to shorten the lengths of videos and audio tracks, and how to add transitions between media files. Furthermore, we learned how to add color effects to individual frames of the video without disturbing another frame. This was probably my favorite lesson in Photoshop, and I took a lot away from it. The Video The Photos Used
-
Photoshop, The Third Lesson
The third chapter in the Photoshop lessons was all about working with selections. There are many different tools available for making selections within an image. The Tools Quick Selection Tool Marquee Tool Magic Wand Tool Lasso Tool About the Tools The Quick Selection Tool is one of the easiest selection tools in Photoshop. This tool automatically selects the edges of an object within an image using its content-aware software. As quick and easy as this tool is to use, it does have its faults when it comes to accuracy of the true edges of an object. The second tool Photoshop has for selection is called the Marquee Tool. There are…
-
Photoshop, The Second Lesson
In the second chapter of Photoshop, we learned about many different tools that can be used to alter an image’s appearance. The Tools Straighten Crop Tone Adjuster Spot Healing Brush Patch Tool Clone Stamp Smart Sharpen Straightening an image can take an image that is on an angle and rotate it to be level. The straightening tool goes hand-in-hand with the Cropping tool that is used to trim the edges of an image. The Tone Adjusting tool is used to change the overall color tone of an image. There are two major adjustments that can be made using Curves and Levels that can change the overall brightness, tone, and color…
-
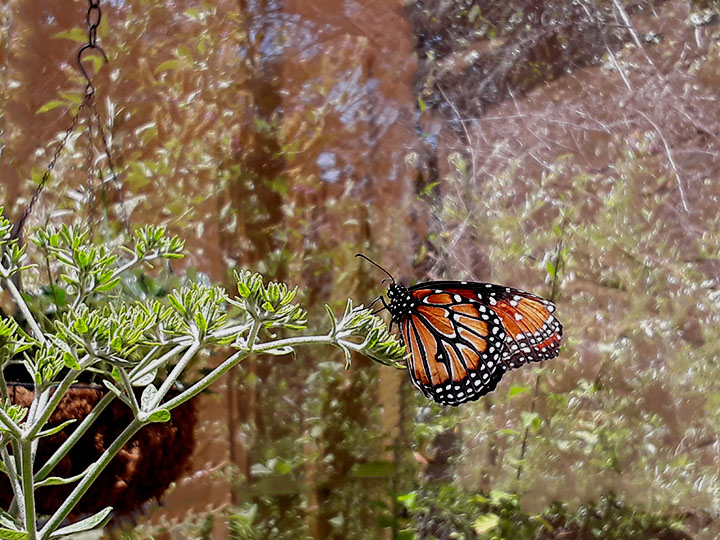
Photoshop, The First Lesson
In the first lesson of Photoshop, there were many introductory mini-lessons. We learned about the toolbar, different panels, our workspace, and that’s just the beginning! Further on the in chapter we learned how to add a color adjustment to a photograph, changing the brightness and contrast of a flower. Afterwards, we sampled a color from an existing banner in the photograph and used that to create another banner for a birthday card. To create the shape of the banner we used the rectangular marque tool and removed a triangle from the edge of the rectangle to create a banner-esque look. For my independent assignment, I chose a photograph from the…